Authors

The raw material that powers your GenAI stack—contracts, reports, wiki pages, support emails—is scattered across dozens of tools and platforms. Even once you've figured out how to access it, you're still stuck wrangling PDFs, docs, slides, spreadsheets, and message threads into something clean and usable. It’s the kind of tedious prep work that slows down every RAG or LLM application before it ever starts.
Unstructured makes it easy to pull documents from cloud storage, internal wikis, or enterprise SaaS platforms, transform them into structured JSON, and deliver them straight to Redis for real-time downstream use. Whether you’re powering a chatbot, triggering workflows, or caching content for fast retrieval, Redis becomes the high-speed lane for delivering processed knowledge to your apps.
In this guide, we’ll build a complete no-code pipeline—starting from an S3 bucket, running through the Unstructured API, and ending with clean, enriched data flowing into a Redis store. Once saved, your workflow can run on a schedule and keep Redis continuously refreshed with the latest version of your source content.
Prerequisites
Unstructured
To start transforming your data with Unstructured, contact us to get access—or log in if you're already a user.
AWS S3
Unstructured can ingest documents from a wide variety of data sources, and you can mix and match them within a single workflow—but to keep things simple, we’ll stick with just one: Amazon S3.
To follow along, you’ll need an AWS account with access to S3, and an S3 bucket that contains some documents you’d like to process. You’ll also need an access key and secret for an IAM user with permission to list and retrieve objects from that bucket (s3:ListBucket and s3:GetObject at minimum).
Make sure your bucket has the right permissions, and that you've uploaded a few files into it so there’s something to work with! You can point Unstructured at the root of your bucket (s3://your-bucket/) or at a specific folder path (s3://your-bucket/folder-name/). Check out this list of supported file types and this doc to help you get set up.
Redis
We’ll be using Redis Cloud as the destination for processed document data in this guide. Before moving on, make sure you’ve created a Redis Cloud database that will serve as the sink for your workflow output.
To connect Unstructured to Redis Cloud, you’ll need the following credentials from your Redis Cloud dashboard:
- Hostname – the address of your Redis instance (e.g., redis-12345.c8.us-east-1-3.ec2.cloud.redislabs.com)
- Port – usually 6379, unless configured otherwise
- Username – the name of your Redis database user (not your Redis Cloud login)
- Password – the corresponding database user password
- Database Index – Redis lets you separate data into logical databases indexed from 0 to 15; use the index tied to your target database
If you need a hand setting things up, this short video walkthrough covers the basics of getting your Redis Cloud credentials.
Building the Workflow
Step 1: Create an S3 Source Connector
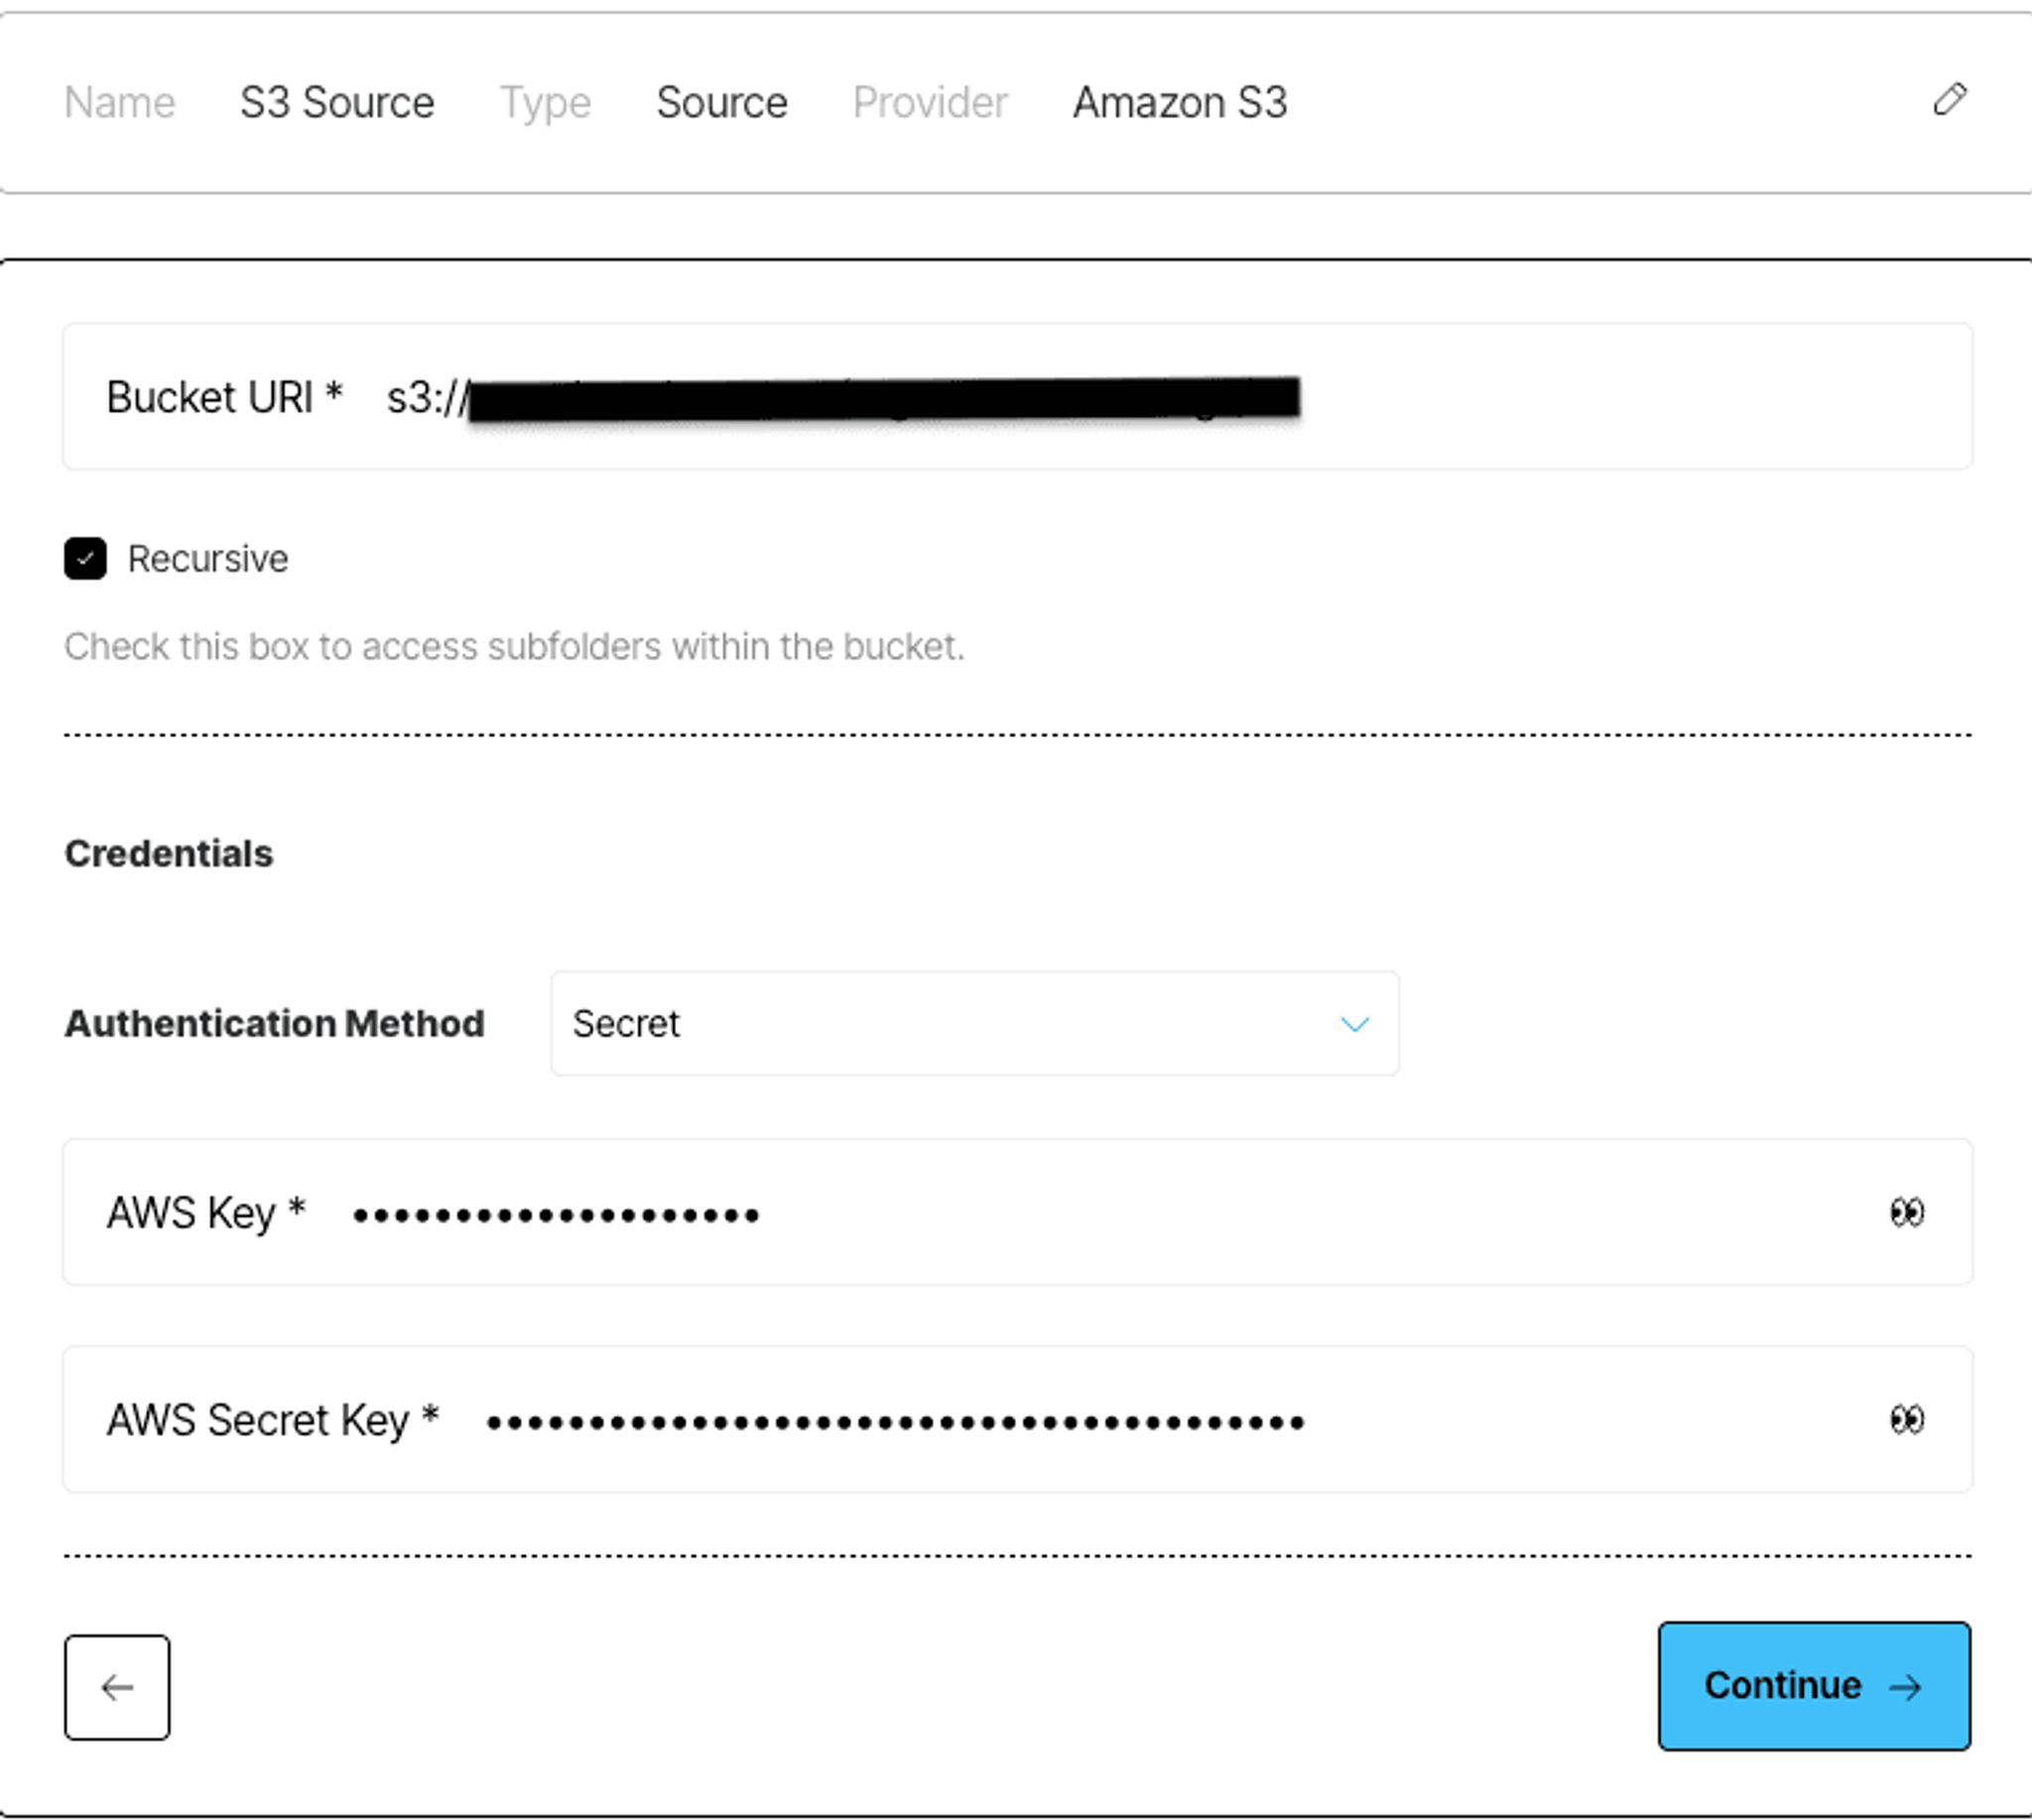
Start by heading to the Connectors tab in Unstructured, click New, and select Source as the connector type. Give it a name like "S3 Source" and pick Amazon S3 as the provider.
Next, fill in the Bucket URI pointing to the folder or path you want to ingest from. This should follow the s3://your-bucket-name/your-folder/ format. If you want to include all subfolders as well, check the Recursive box.
Under Credentials, set the Authentication Method to Secret, and enter your AWS Key and AWS Secret Key. These should correspond to an IAM user with s3:ListBucket and s3:GetObject permissions for the target path.
After filling everything out, click Continue to move ahead. You’ll see a summary of your connector with the bucket URI, credentials, and any optional custom URL override for non-AWS S3 providers.
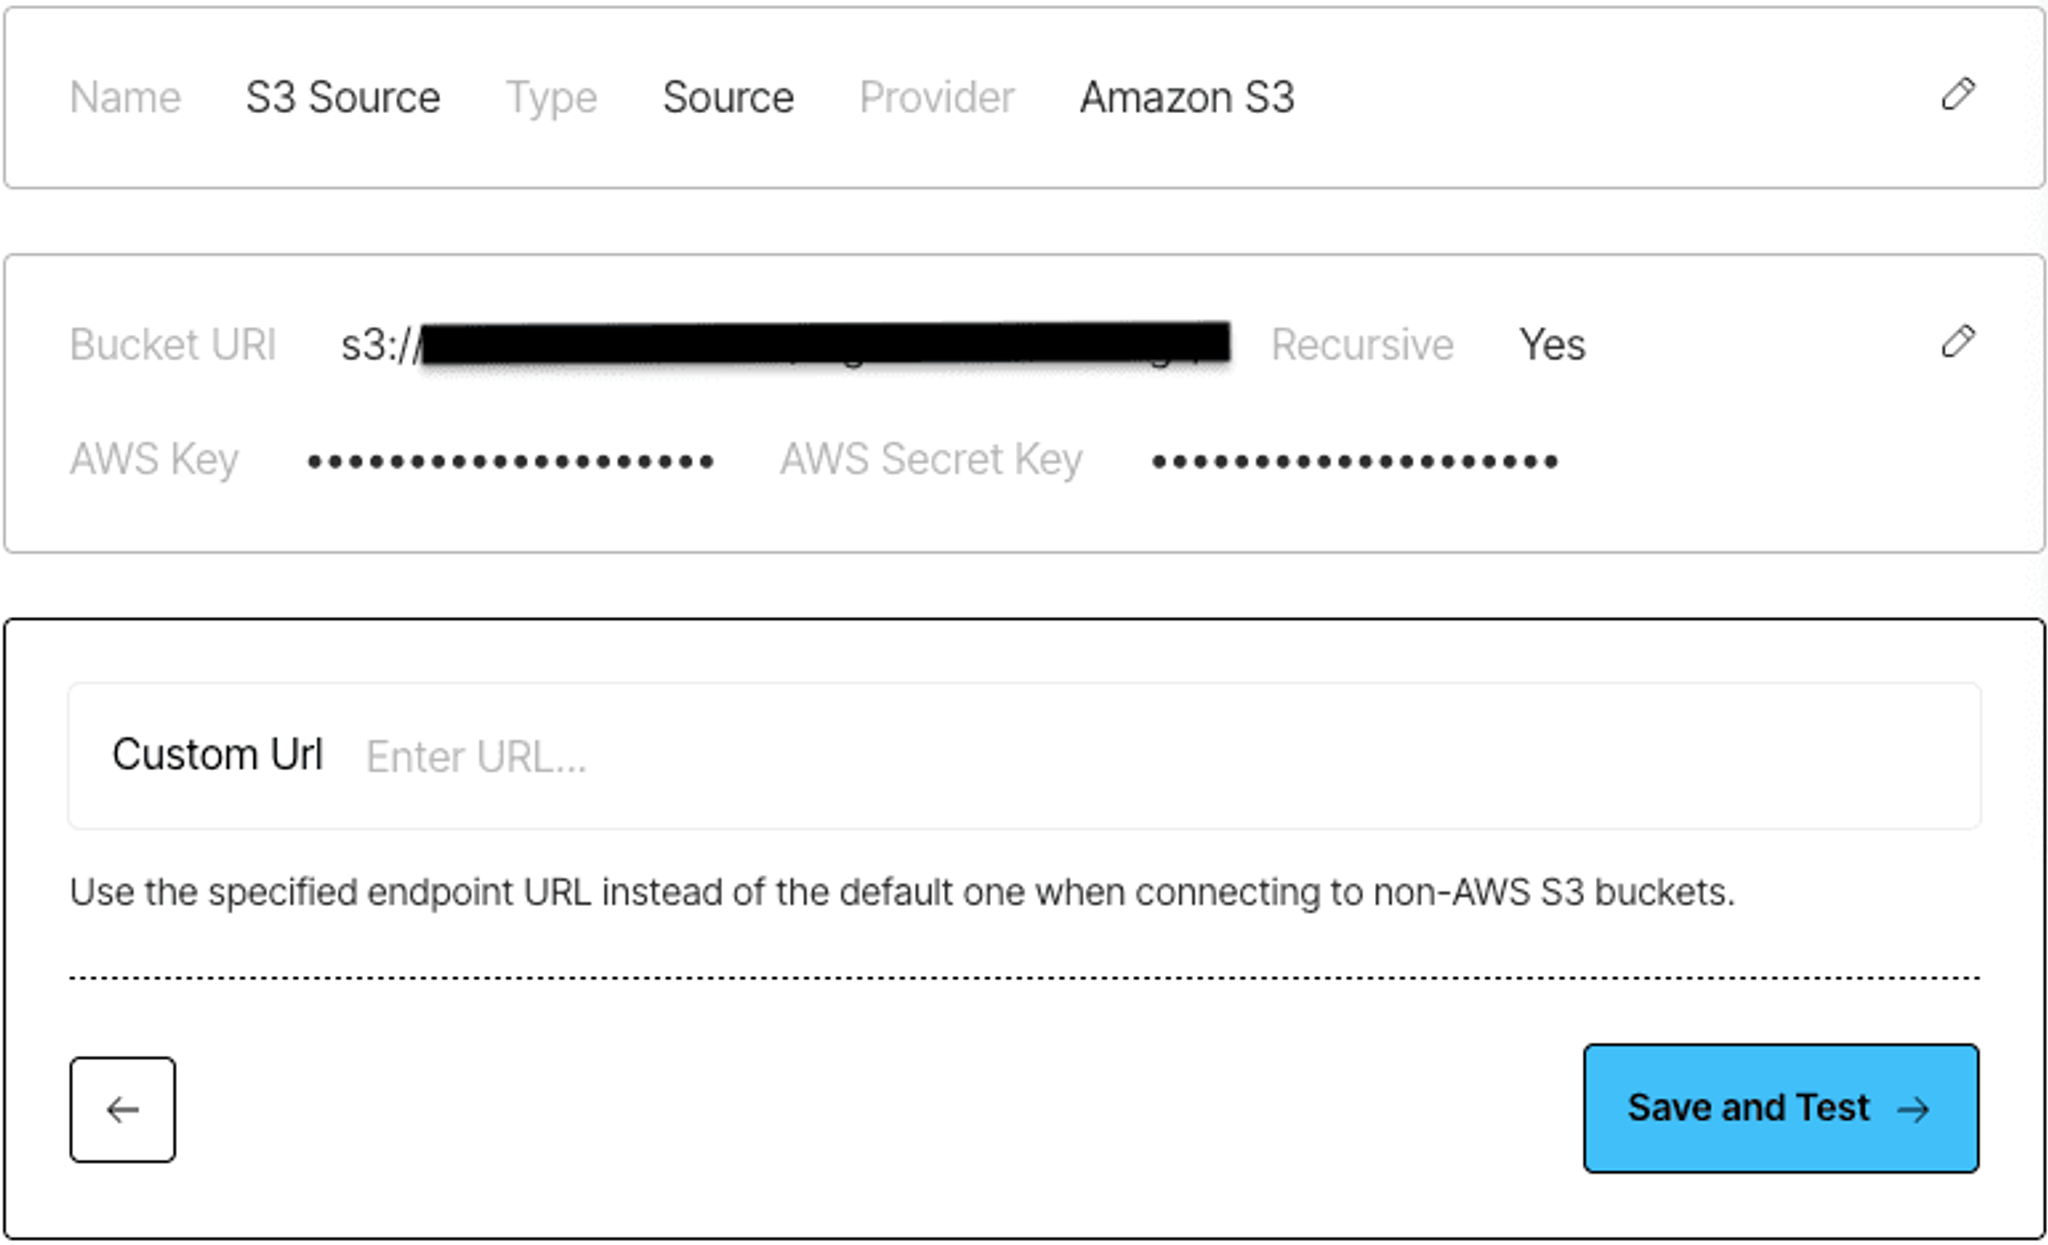
Hit Save and Test to validate your parameters and that’s it, your S3 source connector is ready to go.
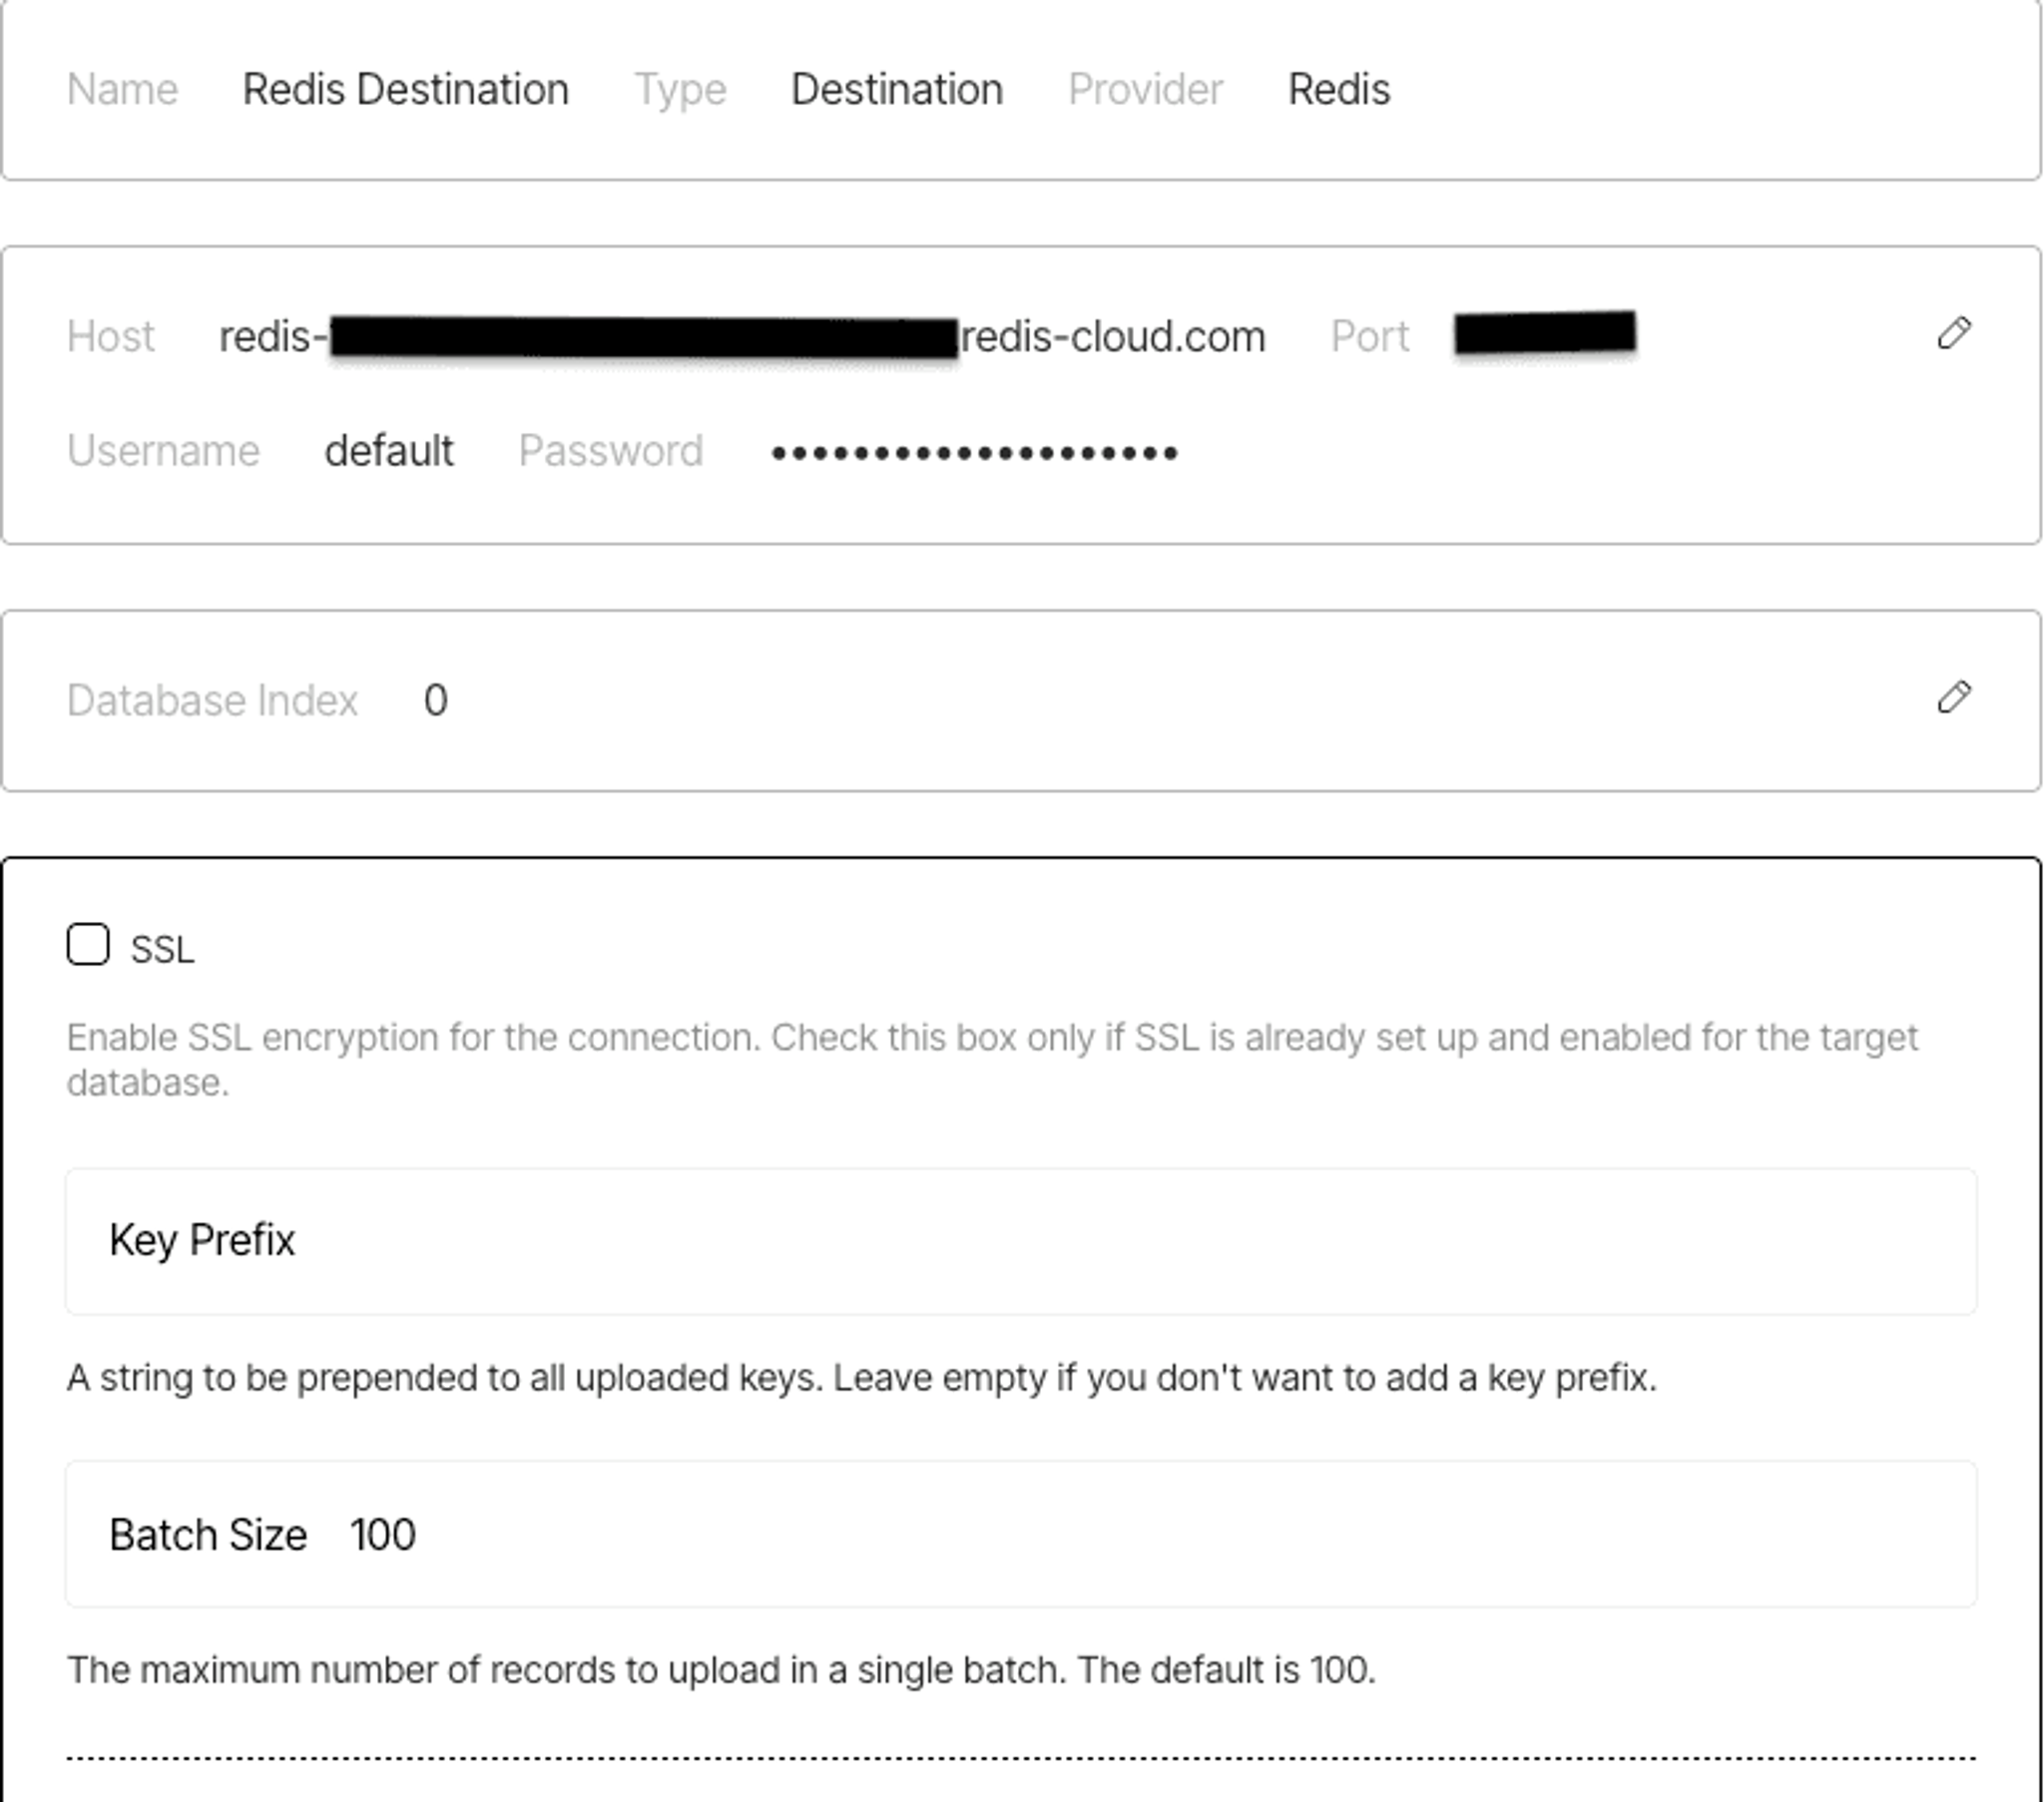
Step 2: Create a Redis Destination Connector
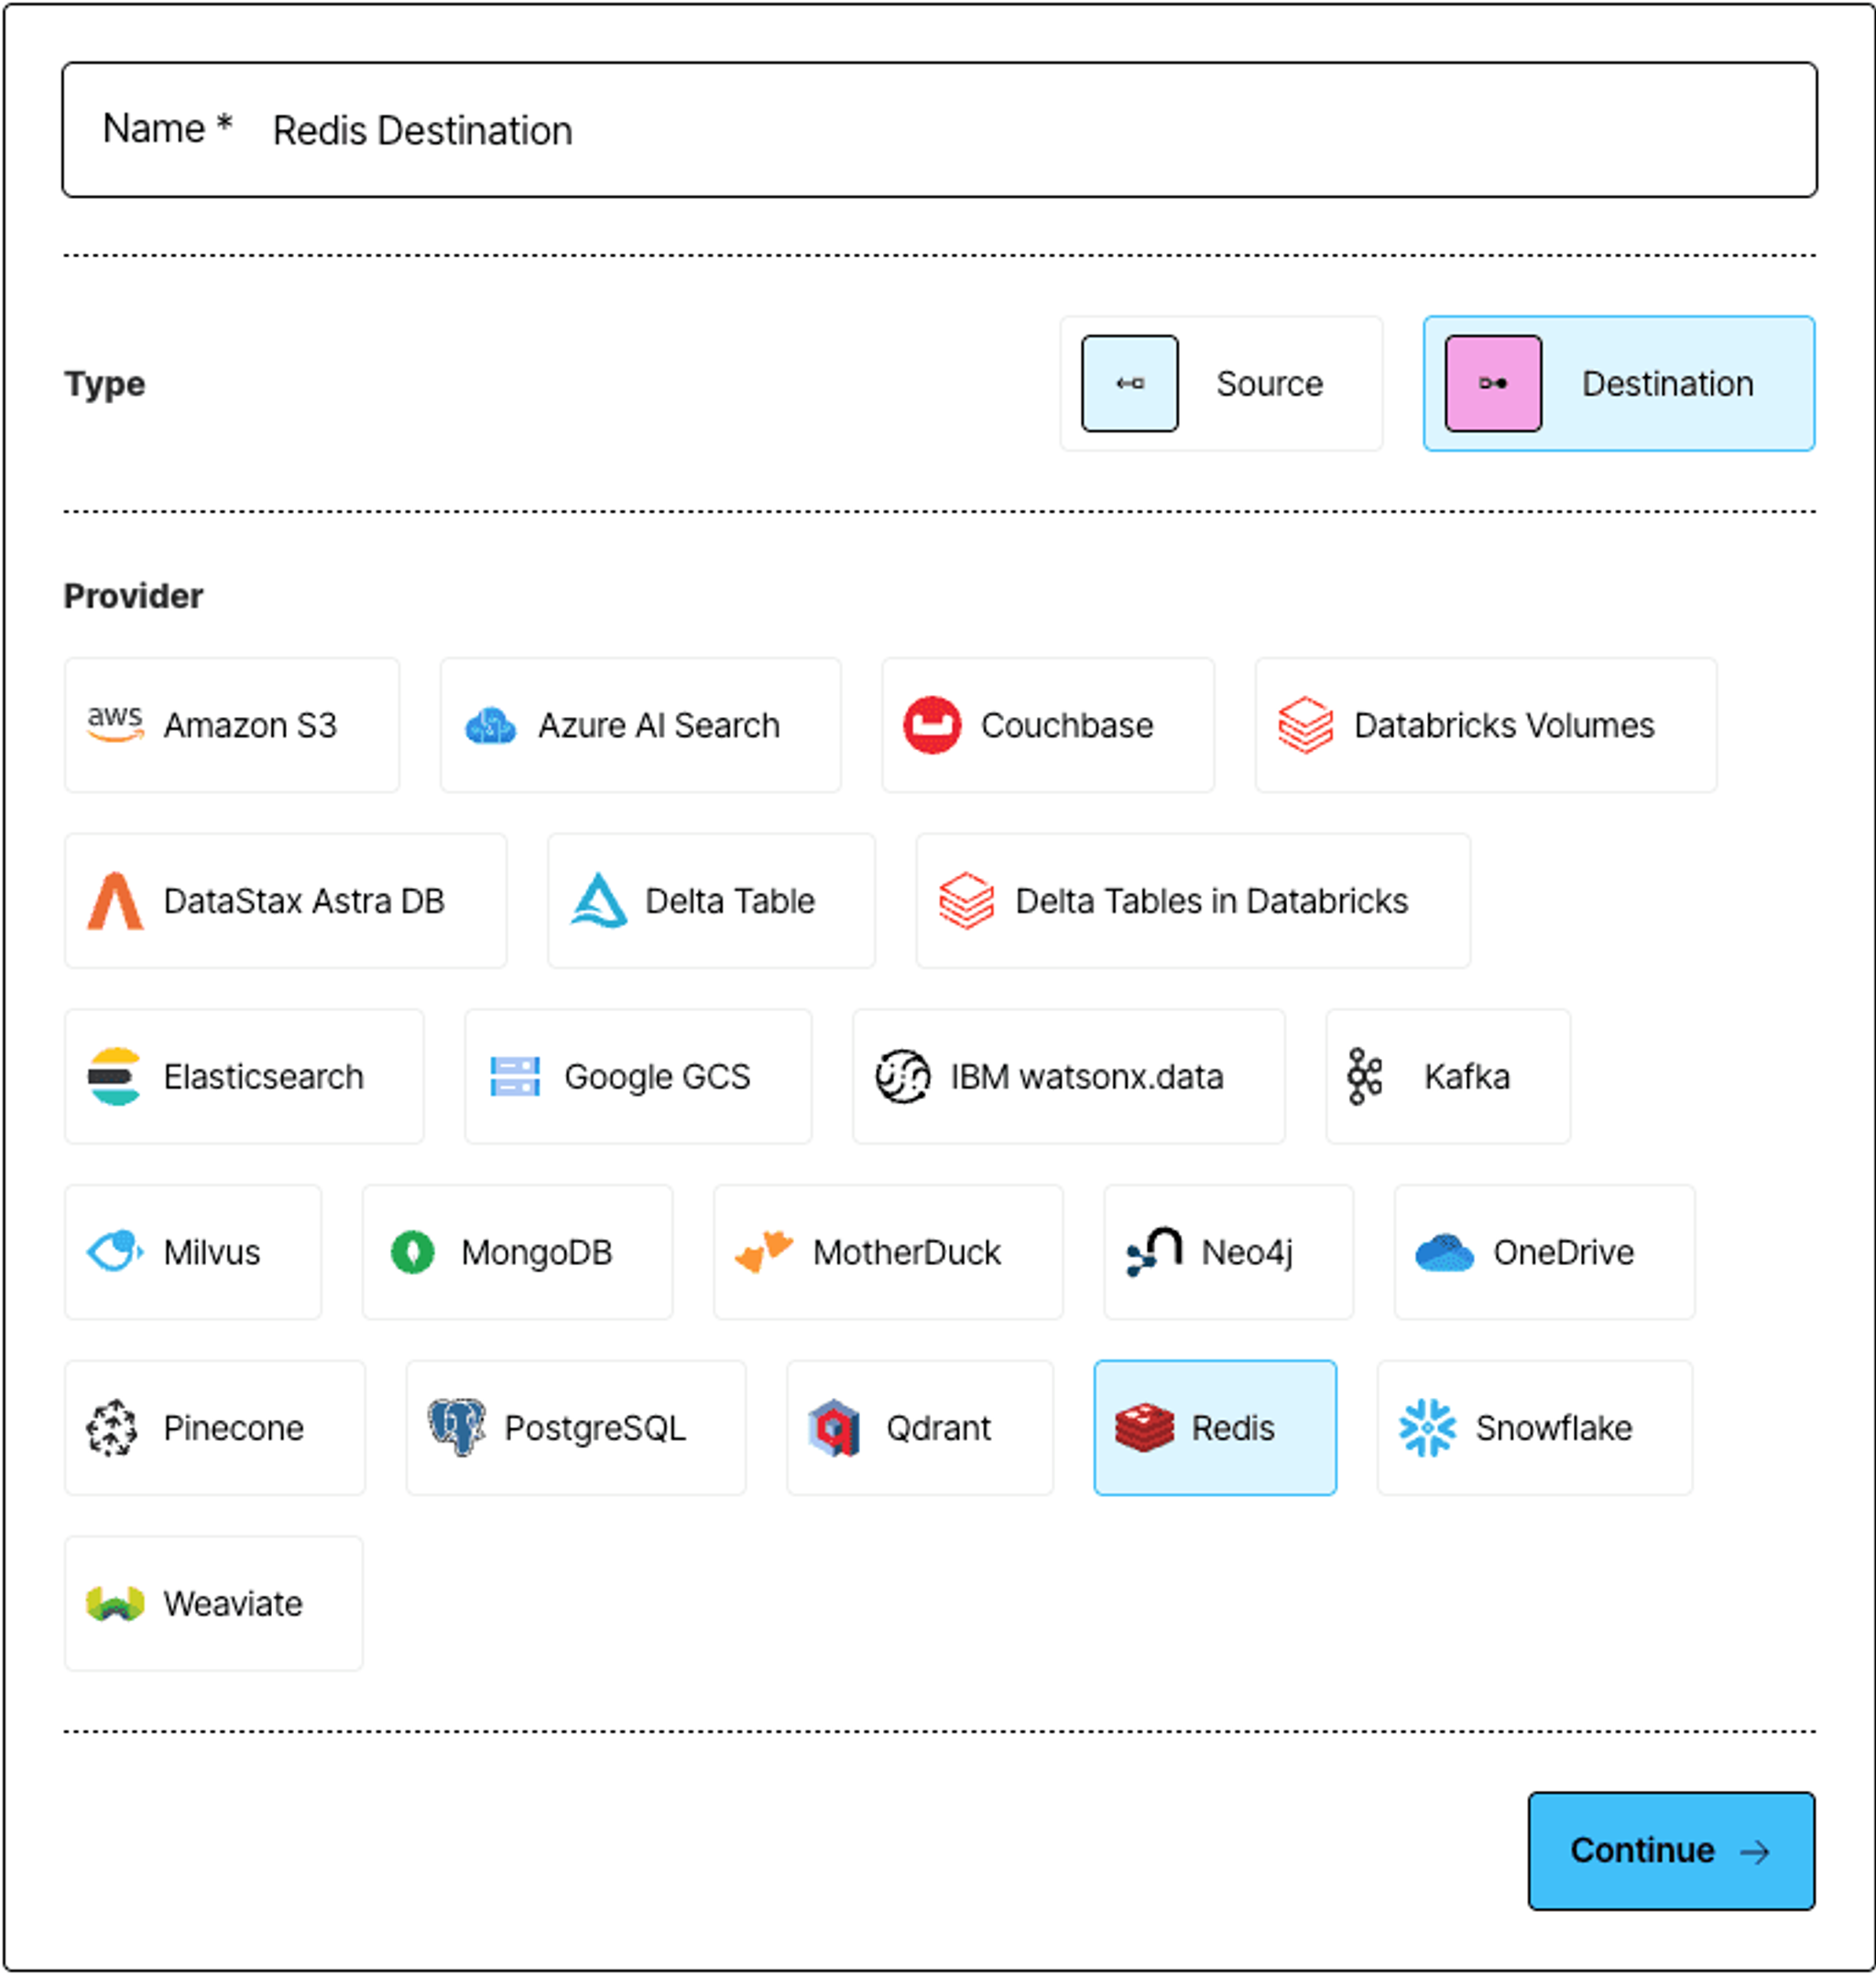
Next, create a destination connector to send parsed content into Redis. Head back to the Connectors tab, click New, and this time select Destination. Give it a name like “Redis Destination” and choose Redis as the provider.
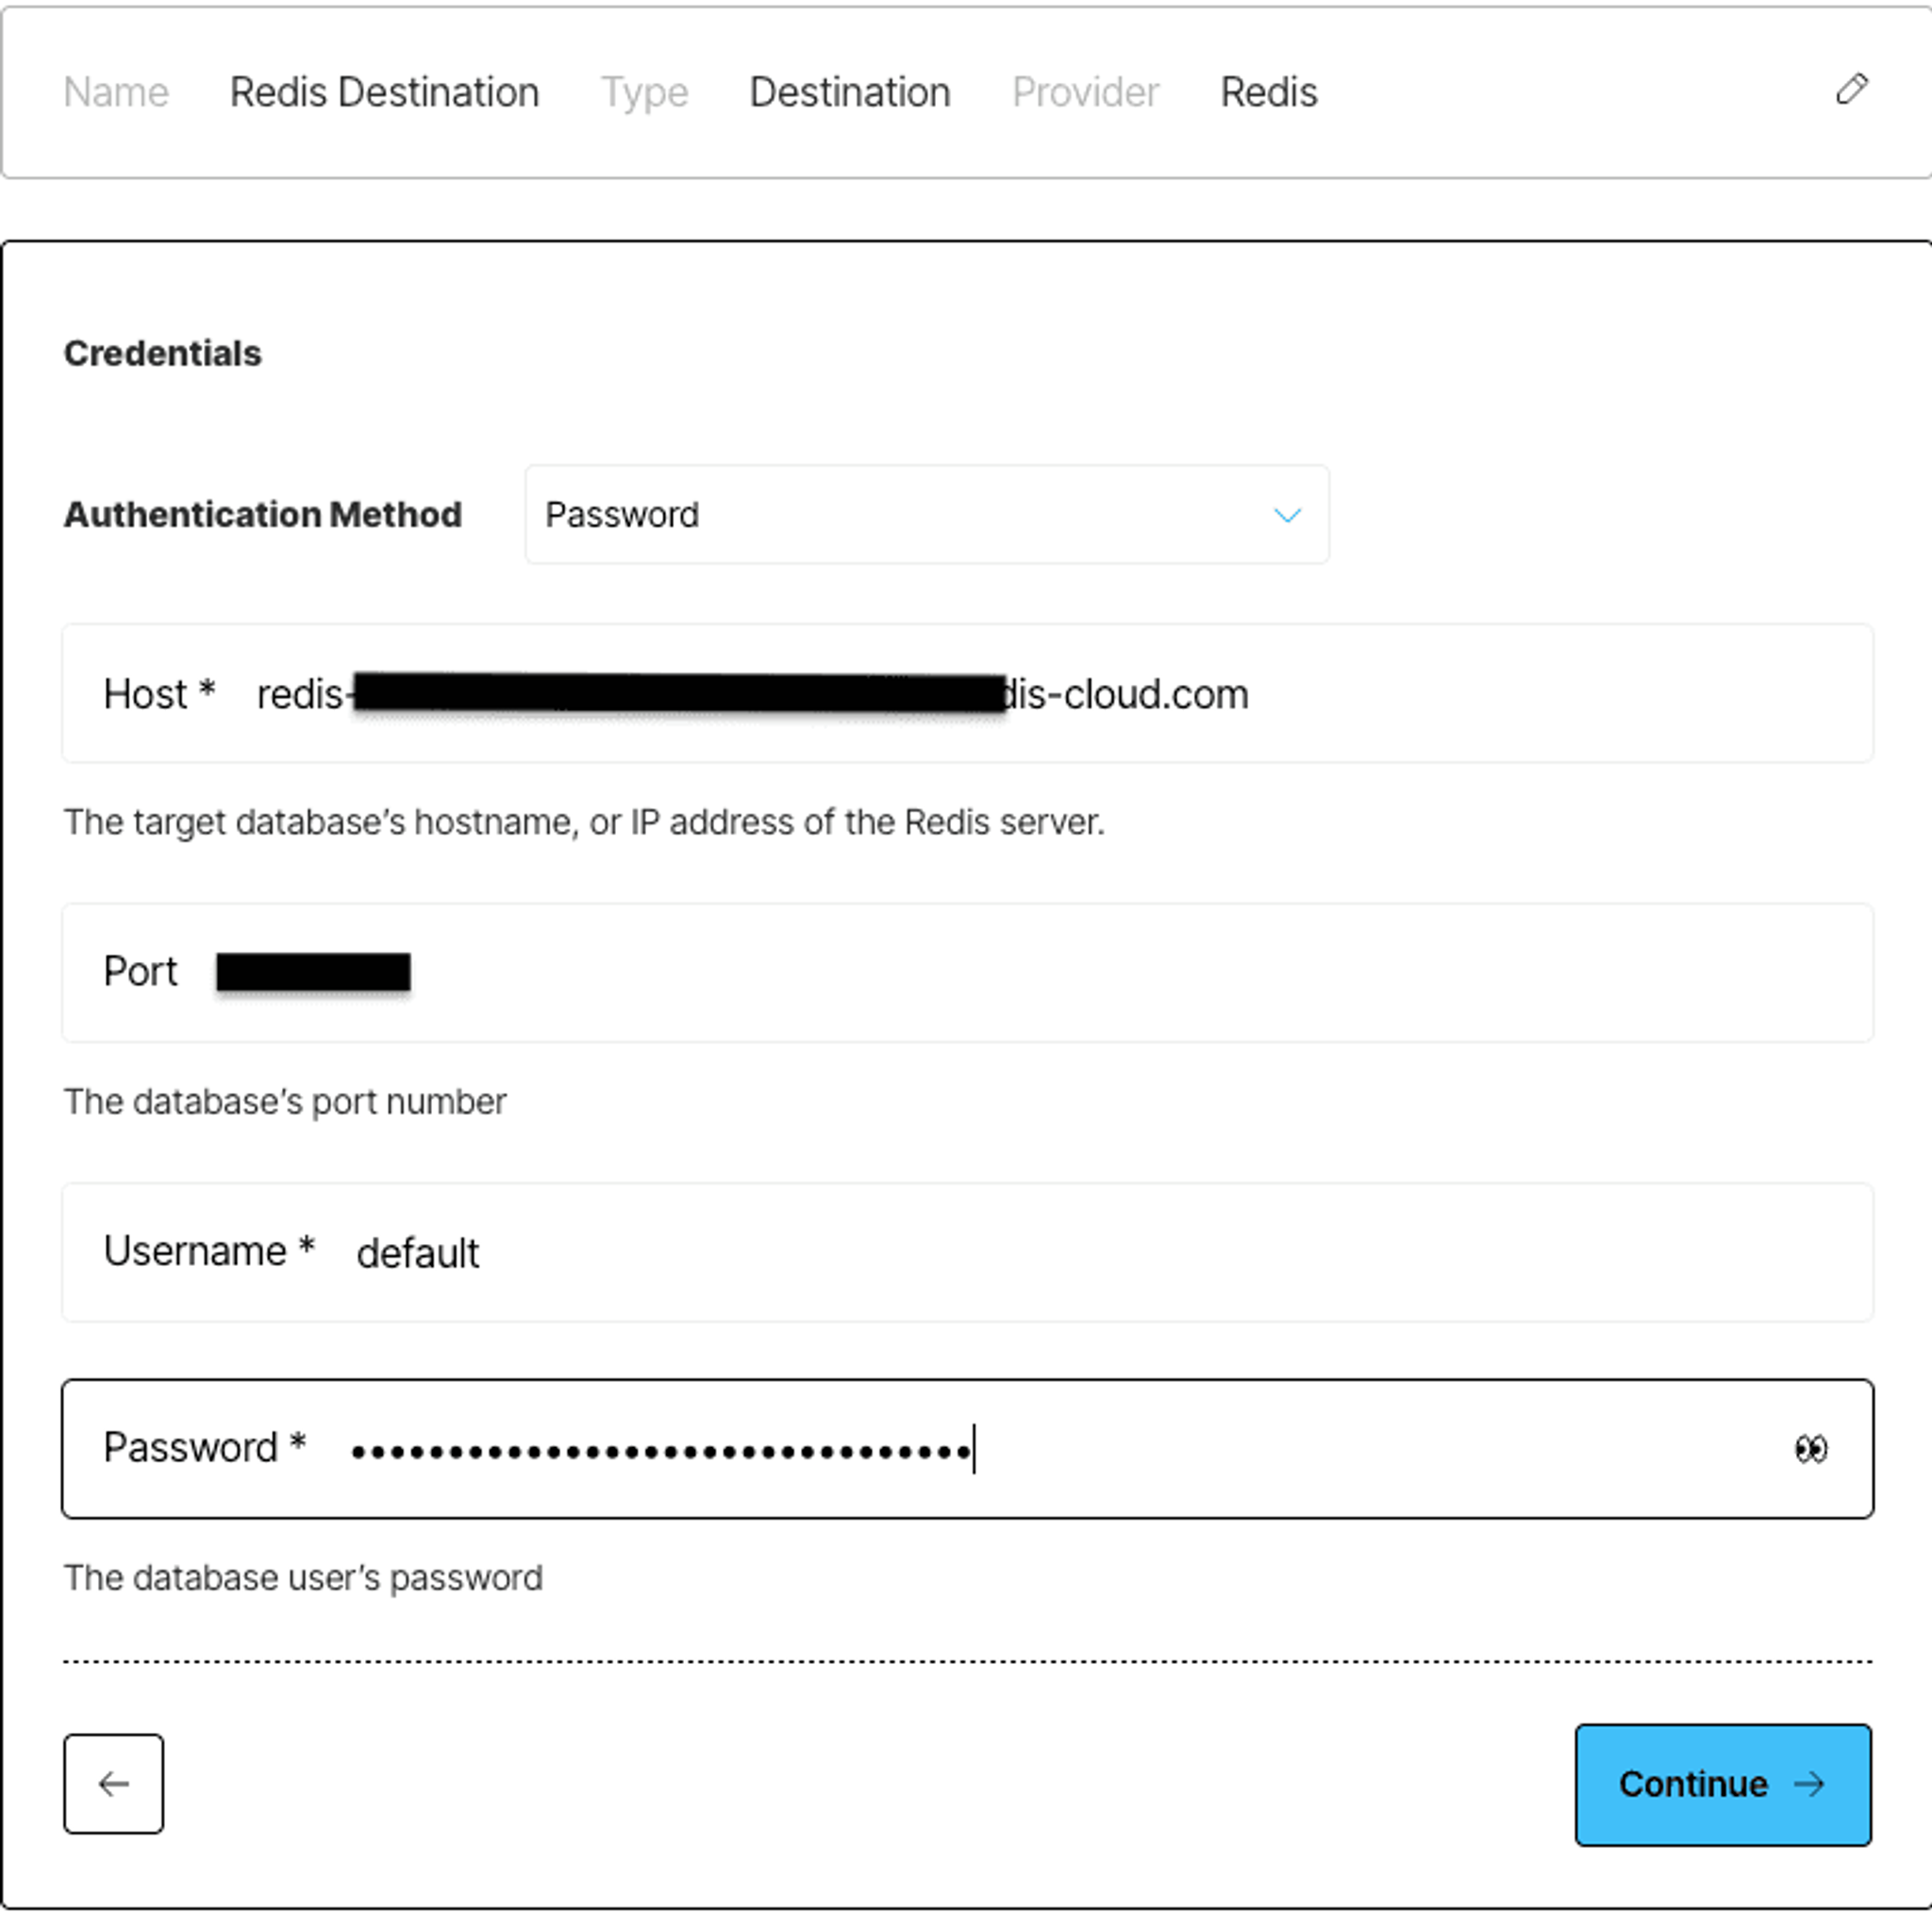
In the credentials screen, choose Password as the authentication method, then fill in the fields from your Redis Cloud dashboard:
- Host – your Redis Cloud hostname
- Port – the port your database is running on
- Username – your Redis database user (e.g., default)
- Password – your Redis database user password
Next, enter the Database Index (usually 0 if it is the first index), and optionally toggle SSL if your Redis instance requires encrypted connections. You can also set a Key Prefix to namespace the records Unstructured writes, and tweak the Batch Size to control how many records are sent in each upload.
Once everything’s filled out, click Save and Test to validate your credentials and save the connector. Feel free to check out this doc for more information on setting up.
Step 3: Configure Your Processing Workflow
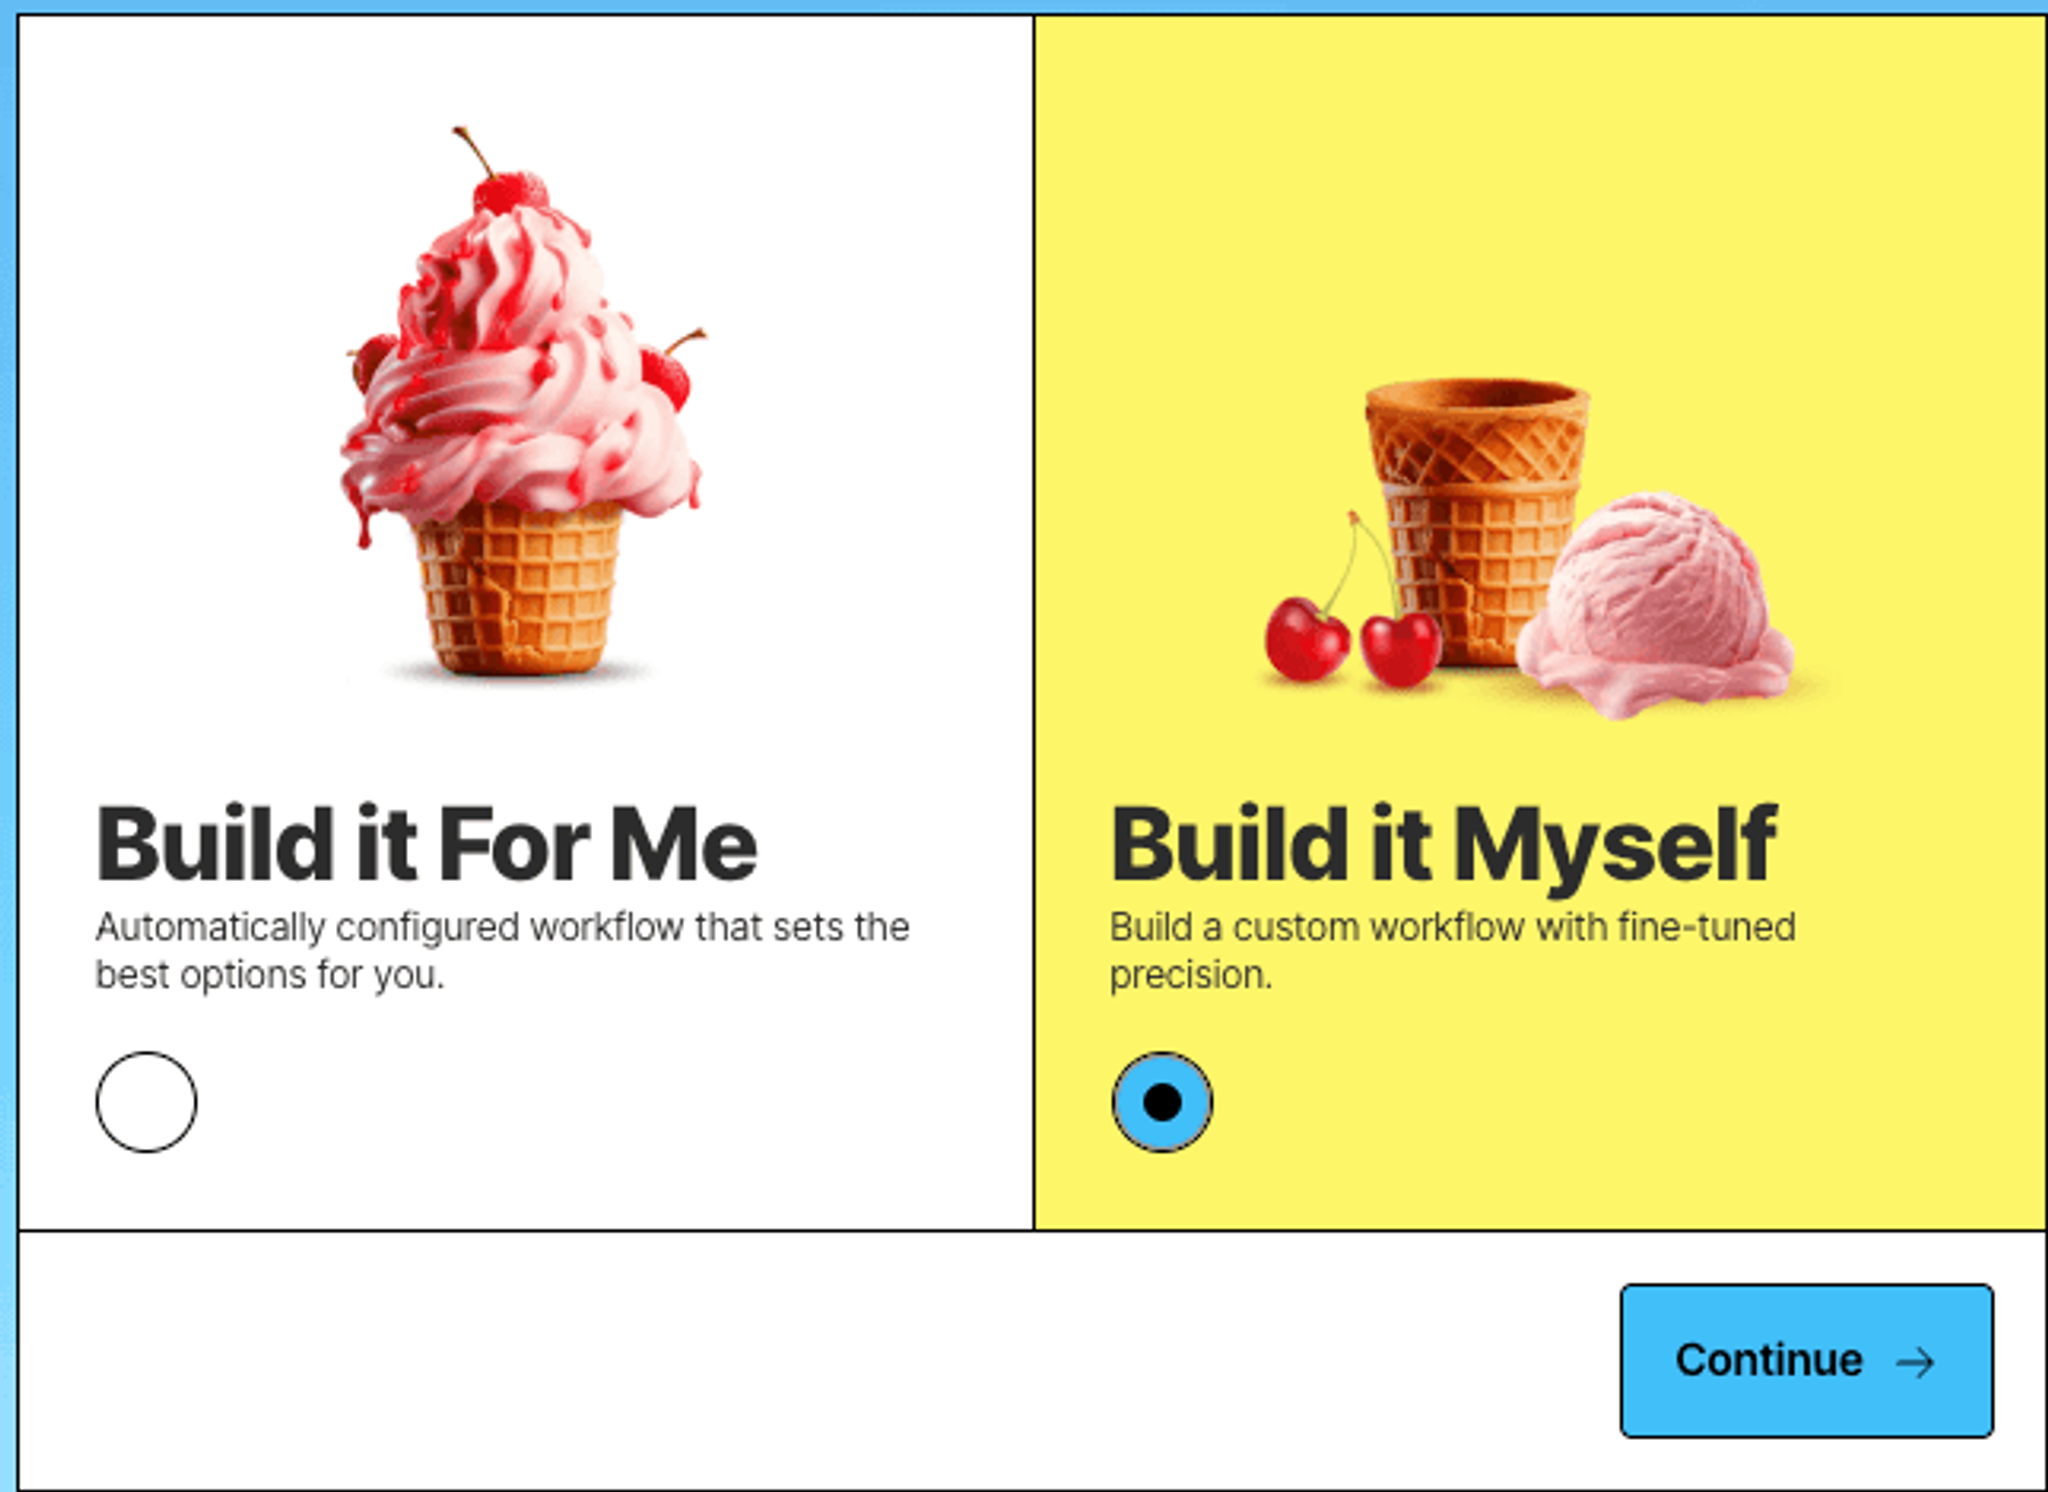
With your connectors set up, it’s time to wire them together into a processing pipeline. When prompted, select Build it Myself to construct the workflow manually with fine-tuned control.
You’ll start with three required nodes: a Source, a Partitioner, and a Destination. Click into each one to attach the connectors you just created—your S3 source and Redis destination.
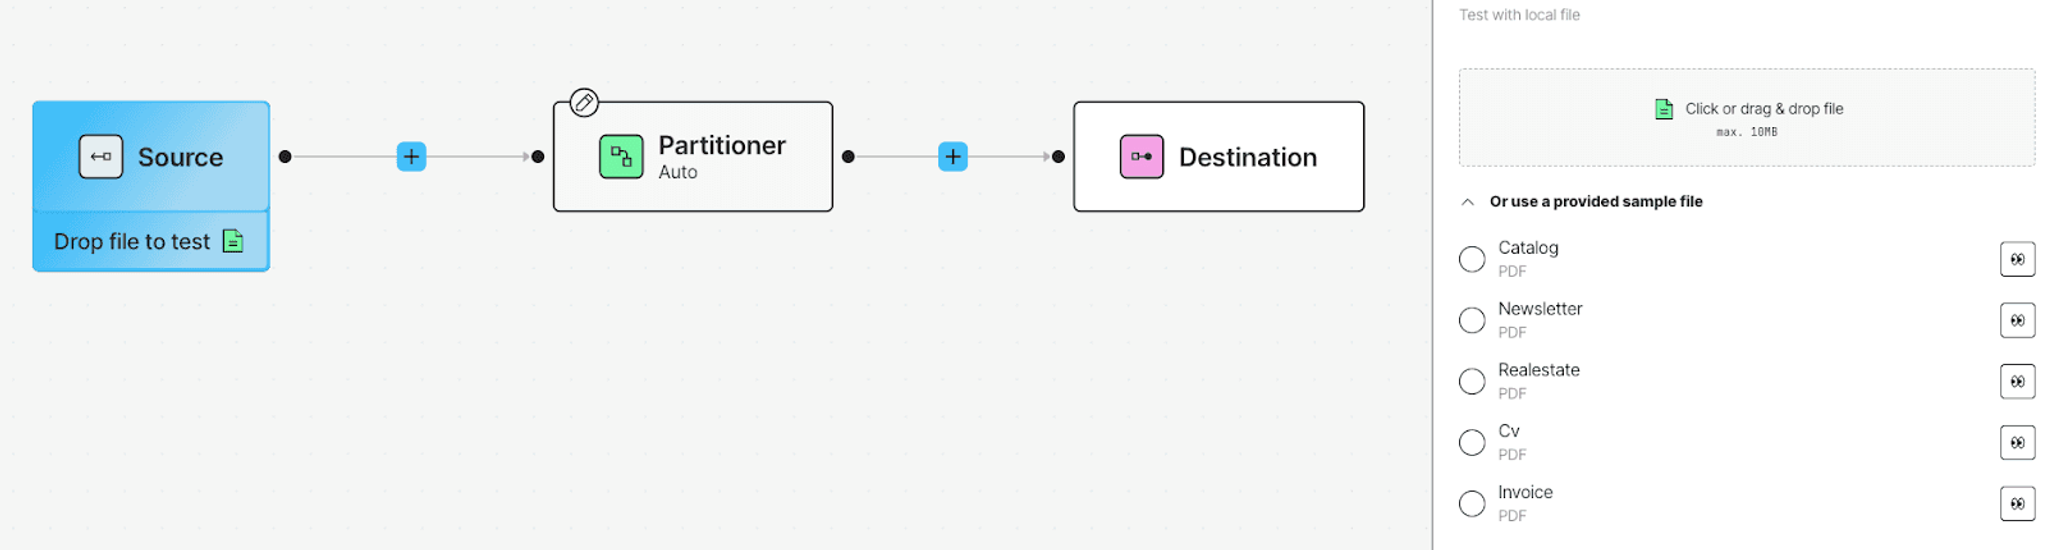
To turn this into a complete RAG-ready pipeline, we’ll add a Chunker node between the Partitioner and Destination. Just click the + between the nodes and choose Chunker by Titles (or whichever strategy fits your use case best).

Once connected, the documents from your S3 bucket will flow through parsing, be broken into retrieval-friendly chunks, and land in Redis—fully structured and ready for downstream consumption.
Step 4: Track Job Progress
Once your workflow is set up and saved, head to the Jobs tab to run it and monitor progress. Each run shows you an overview of what happened—when it started, how many files were processed, and whether each node in the workflow succeeded.
You’ll see your pipeline unfold step-by-step: files pulled from S3, parsed by the Partitioner, chunked, and finally pushed to your Redis database. If everything’s configured correctly, you’ll get a green Finished badge once the job completes.
That’s it—your data is now structured and ready to serve downstream use cases from Redis.
Check the Output in Redis
Once your job finishes running, you can explore the results directly in Redis Insight. You should see a list of keys in your target database—each representing a structured document element written by Unstructured.

Clicking into any key reveals the full JSON payload, including fields like element_id, type, text, and metadata—everything your downstream system or agent needs to work with.
What You’ve Built
You’ve just created a complete document processing pipeline—from ingestion to real-time delivery—without writing a single line of code.
You pulled documents from an S3 bucket, parsed them into structured JSON, chunked them into retrieval-friendly segments, and pushed the results into Redis Cloud. Whether you're feeding a chatbot, triggering LLM agents, or caching enriched content for fast lookup, your data is now cleaned, structured, and ready to go.